micro-ROS
Introduction to micro-ROS, Micro-XRCE and their arduino examples based on ESP32.
micro-ROS
 micro-ROS puts ROS2 nodes onto microcontrollers
- micro-ROS for Renesas e2 studio
- micro-ROS component for ESP-IDF
- micro-ROS module for Zephyr
- micro-ROS module for Mbed RTOS
- micro-ROS app for Nuttx RTOS
- micro-ROS app for Microsoft Azure RTOS
- micro-ROS for STM32CubeMX/IDE
- micro-ROS for Arduino
- micro-ROS module for Raspberry Pi Pico SDK
ROS2 supported distributions are:
| ROS 2 Distro | State | Branch |
|---|---|---|
| Crystal | EOL | `crystal` |
| Dashing | EOL | `dashing` |
| Foxy | Supported | `foxy` |
| Galactic | Supported | `galactic` |
| Rolling | Supported | `main` |
eProsima Micro XRCE-DDS
eProsima Micro XRCE-DDS is a library implementing the DDS-XRCE protocol as defined and maintained by the OMG, whose aim is to allow resource constrained devices such as microcontrollers
 The Micro XRCE-DDS Clients request operations to the Agent to publish and/or subscribe to topics in the DDS global dataspace.

eProsima Micro XRCE-DDS contains:
microROS
Blog: Connect ESP32 to ROS2
- micro-ROS Installation
pip install -U colcon-common-extensions mkdir -p ~/microros_ws/src cd ~/microros_ws/src git clone -b humble https://github.com/micro-ROS/micro_ros_setup.git cd .. colcon build source install/local_setup.bash - Install rosdep
sudo apt install python3-vcstool sudo apt install python3-rosdep sudo rosdep init rosdep update - Create the micro-ROS agent
ros2 run micro_ros_setup create_agent_ws.sh ros2 run micro_ros_setup build_agent.sh source install/local_setup.bash -
Running the micro-ROS agent
ros2 run micro_ros_agent micro_ros_agent udp4 --port 8888
Once connected:

-
Testing the micro-ROS app
ros2 topic list

ros2 topic echo /freertos_int32_publisher - ESP32 running micro-ROS client
ros2 topic echo /microros_esp32

micro-ROS for Arduino
- Preference URLs: https://github.com/espressif/arduino-esp32/releases/download/2.0.5/package_esp32_index.json
- Download micro_ros_arduino-2.0.5-humble.zip
- Sketch> Include Library > Add .ZIP Library > micro_ros_arduino-2.0.5-humble.zip
- Sketchbook> ROS > microROS_publisher_wifi
Micro-XCRE
- build & install
git clone https://github.com/eProsima/Micro-XRCE-DDS-Agent cd Micro-XRCE-DDS-Agent colcon build - run
MicroXRCEAgent serial --dev /dev/ttyUSB0 -b 115200
ros2arduino
Code: shirokunet/ros2_esp32bot
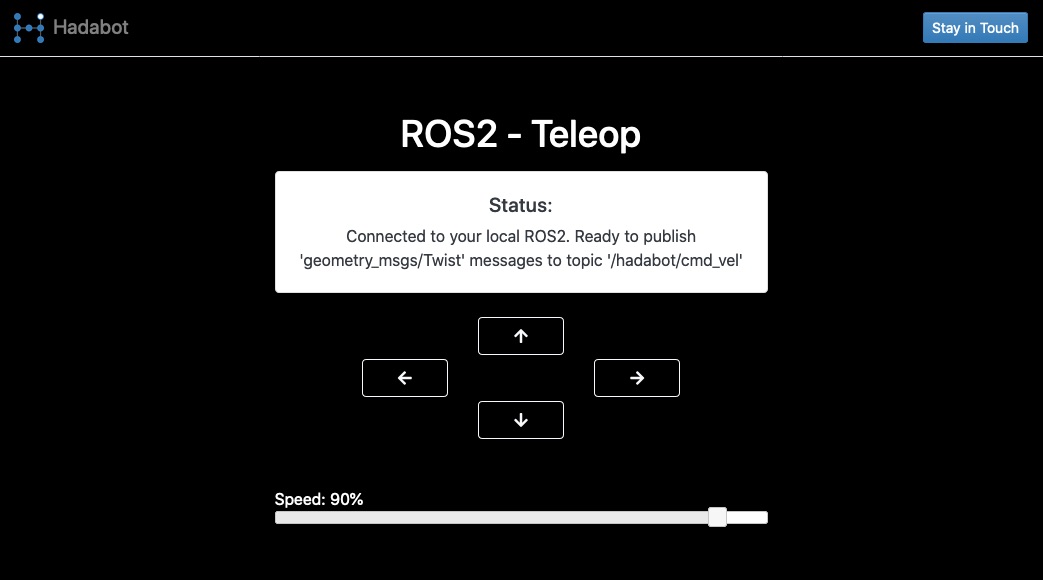
Blog: 如何使用esp32從零制作一個ROS2的teleop遙控器

Blog: Setting up an ESP32 microcontroller for ROS2 robotics

Blog: micro-ROS porting to ESP32
core tutorials
ros2 run micro_ros_setup create_firmware_ws.sh freertos esp32

ros2 run micro_ros_setup configure_firmware.sh int32_publisher -t udp -i [your local machine IP] -p 8888

ros2 run micro_ros_setup build_firmware.sh menuconfig

# Now go to the micro-ROS Transport Settings → WiFi Configuration menu and fill your WiFi SSID and password. Save your changes, exit the interactive menu, and run:

ros2 run micro_ros_setup build_firmware.sh

# Connect your ESP32 to the computer with a micro-USB cable, and run:

ros2 run micro_ros_setup flash_firmware.sh
This site was last updated October 07, 2024.